Oh dear. I see it’s over four months since I last posted – so not quite the regular updates I expected to make then! I’ve not been idle but, to be honest, as a technophobe, creating a post is a struggle. However, I shall carry on, if only to keep Andy happy.
Andy created this blog and constantly pesters me to post something. He’s one of those computer literate types who knows lots of techie stuff so can’t quite fathom that I still struggle with the function buttons on my wrist watch. He’s particularly haughty with me at the moment because he’s enjoying a bit of a revival of his wargaming mojo (see his sickeningly splendid blog here) but it won’t last and then I’ll get some peace and quiet.
During the meanwhilst I have played a wonderful mid 18thC game in the Loftwaffe (here) and a Great Northern War game with my mate Old John using his amazing 20mm and 1/72 collection.
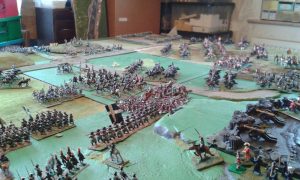
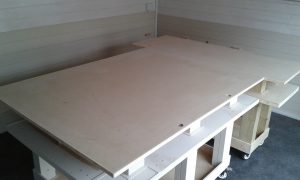
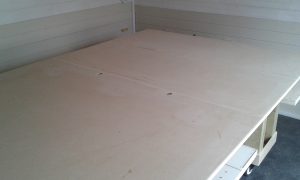
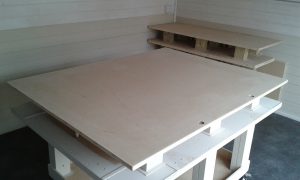
I’ve done lots of non wargaming stuff over the winter, like hard landscaping in the garden, but most of all I’ve spent many hours building my work benches, slash, wargames table. They, or rather it, is now finished and I officially have a wargames shed. Ta da!
I have two benches (big bench and little bench). They are robustly constructed but swivel on their casters with the ease of Torvill and Dean on ice. A few pictures follow showing the construction process and end result……….
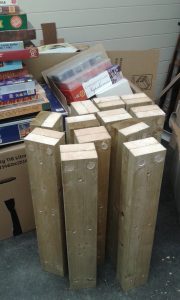
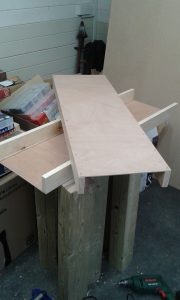
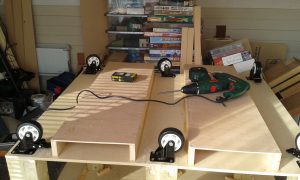

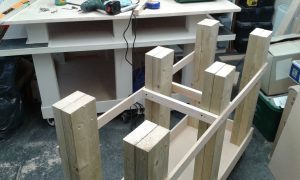
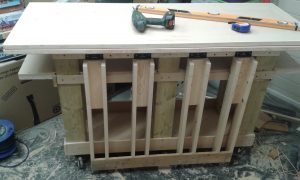
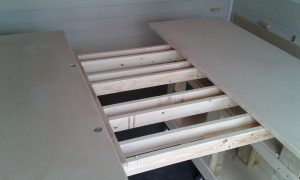
The benches can be arranged in a number of ways. In each position they are bolted together so that the whole structure moves as one…..not that you’d need to move them much I suppose. The photos don’t really give an indication of space round the tables. The largest set-up shown below (8′ x 5′) allows 32″ clear space along each side and 27″ at each end. At a pinch and by using little bench’s flap against big bench’s 4″ side I can have a 9′ x 4’+. I don’t think that would be too cramped. Most of the time little bench will be pushed up against the wall and big bench will be my worktop.
So now I suppose I’d better make some terrain? I’d also like to have a detachable border round the table for when I pay games. Oh crap, still more to do………..
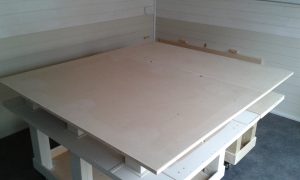

About bloody time! Looks excellent. Get some terrain and play a bloody game!
There’s no pleasing some people.
That is some excellent joinery EB!
Just screws and glue, Purps………and measuring everything three times before cutting.
I look forward to seeing you on the Channel 4 Shed of the Year.
I love that series. I’m sorry my garden, and my wallet, couldn’t stretch to something a bit more spectacular.
Wonderful looking table and room — excellent post indeed.
Thank you Carlo.
That looks very clever Bro, I am impressed and looking forward to seeing more
I know that you are just about clever enough to write in joined up writing these days but hadn’t realised that you have graduated on top using sharp things and power tools. Best count your fingers now and make sure that you have the same number of fingers as you have toes.
I think you do me too much credit, Kerry. I can write all joined up like, but even I can’t interpret wot I has writ. And, I nearly shredded a finger when I groped under a cut to see how close the jigsaw blade was – very, very close was the answer!
Yes, well worth waiting for
What you lack in IT skills you clearly make up for in carpentry, very impressive. As for scenery, it’s all ready for El Alamein!
Thank you LT. The benches are best viewed from a distance, but I’m very happy with the end result.
Although I’m wondering why I bought the sand colour Mat o War!